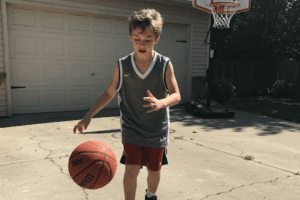


Adding a sports court to your deck for basketball is a fantastic way to combine fun, fitness, and function—all within your backyard. Whether you want a full basketball experience or a compact half-court setup, planning and building it right ensures safety, durability, and great gameplay.
This complete guide will walk you through every step, from design and material choices to installation, safety, and upkeep.
Planning and Design
Check Your Deck’s Strength and Size
Before you begin, it’s essential to assess whether your deck can support the added weight and activity. Consult a structural engineer or licensed contractor to confirm load-bearing capacity.
Planning the Court Design and Layout
Consider how much space you have. Will you build a half-court or a shooting lane? Choose a layout that fits both your space and your playing needs.
Measuring Deck Area and Determining Optimal Court Dimensions
Measure the total area available on your deck. A basic shooting key may only need 10–15 feet in width, while a mini half-court might require at least 20–30 feet in length.
Accessibility and Safety Features
Ensure your court is accessible to all. Plan for handrails, ramps, or other features if necessary.
Designing for Basketball Play (Half-court, Mini-court, etc.)
Pick a court configuration that suits your style: a key and free-throw line for practice or a half-court with a three-point arc.
Choosing Materials for Your Basketball Sport Court
Types of Sport Courts for Basketball
There are modular tile courts, painted acrylic surfaces, and rubberized sports floors. Each has different textures and benefits.
Choosing Sport Court Material (Acrylic, Tiles, Rubber, etc.)
Acrylic is cost-effective but can be slippery when wet. Tiles are versatile and easy to replace. Rubber adds cushioning for reduced impact.
Comparison of Sport Court Materials
| Material | Pros | Cons |
|---|---|---|
| Acrylic | Budget-friendly | Slippery when wet |
| Modular Tiles | Durable, easy to install | More expensive |
| Rubber | Shock-absorbing | Requires more maintenance |
Drainage and Waterproofing Considerations
Proper drainage is key. Ensure your deck has a slight slope or install a subfloor that allows water flow to prevent pooling and damage.
Construction Materials and Methods
Materials Required
You’ll need court surface materials (tiles or paint), adhesives, fasteners, a hoop system, and marking tools.
Tools and Equipment Checklist
Prepare basic tools like drills, saws, paint rollers, tape measures, and safety gear.
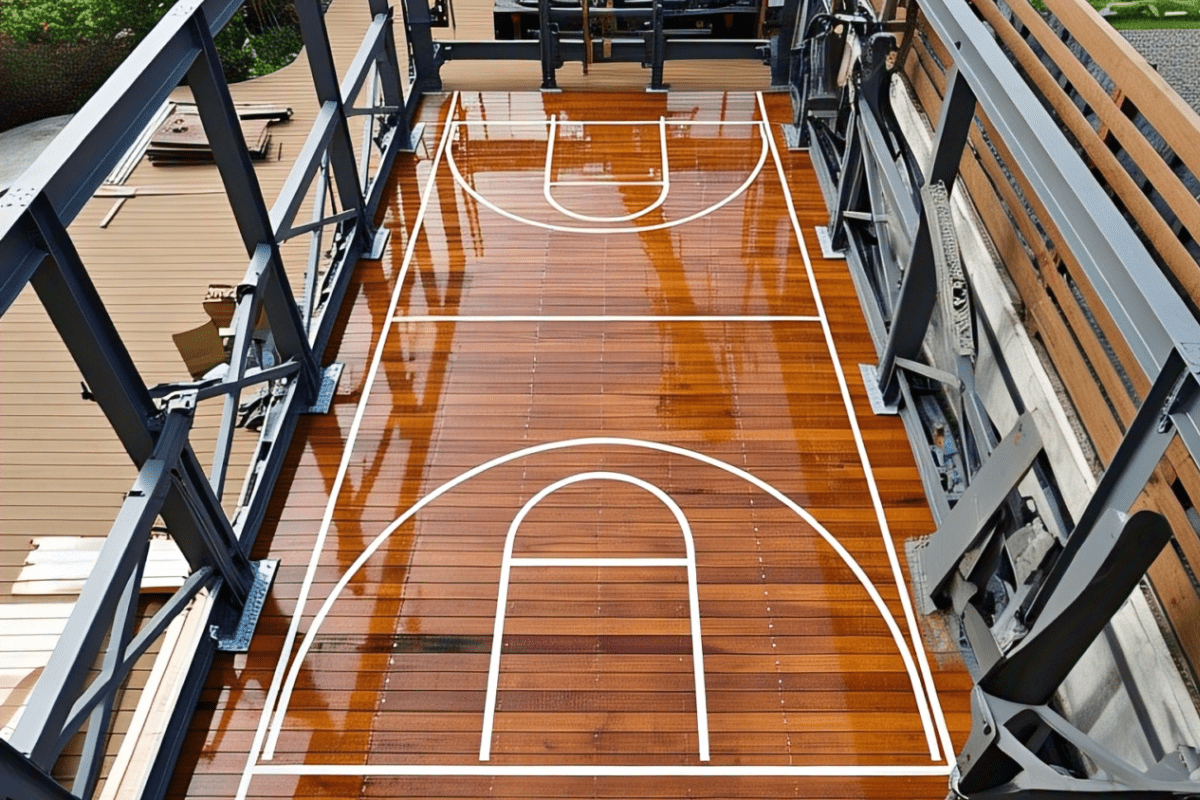
Preparing the Deck Surface
Clean the deck thoroughly. Repair any wood damage and sand down uneven surfaces before beginning the court installation.
Constructing the Sport Court Base
Some systems require a flat plywood sub-base for secure tile attachment or consistent painting.
Court Build Essentials
Installation Methods (Tiles vs. Paint)
Tiles snap together and are easy to remove. Painting requires more surface prep but is cost-effective.
Option 1: Painting the Deck Surface
Apply primer, then durable acrylic sports paint. Use stencils for lines.
Option 2: Installing Modular Sport Tiles
Snap tiles in place over a prepared subfloor. Secure edges with trim or adhesive where needed.
Construction Steps Table
| Step | Description |
|---|---|
| 1 | Assess deck strength |
| 2 | Clean and prep surface |
| 3 | Install base (if needed) |
| 4 | Apply paint or install tiles |
| 5 | Mark court lines and install hoop |
Marking and Setting Up the Court
Marking Basketball Court Lines Accurately
Use stencils or measuring tape to create accurate lines: free-throw line (15 ft), three-point line (22 ft for pro, adjust for space).
Choosing Paint or Tape for Court Markings
Paint offers longevity, while tape is great for temporary setups.
Add the Basketball Hoop and Mounting Options
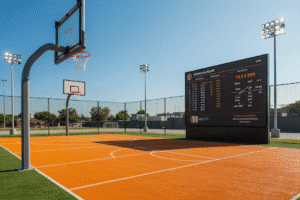
Choose between wall-mounted, pole-mounted, or deck-mounted hoops. Ensure they are securely fastened and at regulation height (10 ft).
Lighting and Ventilation for Evening Play
Install overhead lighting if you plan on night play. Solar lights or LED floodlights work well. Ensure open airflow to prevent heat buildup.
Safety and Accessibility Considerations
Potential Safety Hazards and Mitigation Strategies
Watch for splinters, gaps in tiles, or unsecured edges. Regularly inspect for loose boards or rusted nails.
Safety Features for Enhanced Protection
Use slip-resistant materials, add railings, and consider safety netting to prevent balls from falling off the deck.
Accessibility Requirements for Sport Courts
Add ramps or accessible entry points for inclusive use.
Designing for Diverse Physical Abilities
Ensure space around the court allows movement aids and that hoop height or ball size can be adjusted if needed.
Maintenance and Long-Term Care
Cleaning Procedures for Different Court Surfaces
Acrylic: mild soap and water. Tiles: lift and hose down. Rubber: mop with non-abrasive cleaner.
Addressing Common Issues with Basketball Sport Courts on Decks
Common issues include warping from water, fading paint, or mold. Routine maintenance solves most problems.
Long-Term Care Strategies
Inspect annually, reseal painted surfaces every 2–3 years, and replace damaged tiles promptly.
Protecting the Court from Weather Damage
Use covers, apply sealant, and install a canopy if needed to shield from sun/rain.
Budget and Cost Analysis
Cost Breakdown for Different Court Materials
Tiles: $3–$8/sq. ft.
Paint: $1–$2/sq. ft.
Rubber: $5–$10/sq. ft.
Labor Cost Estimation
If hiring a contractor: $500–$2000, depending on deck size and complexity.
Permitting Costs
Varies by city but can range from $50–$300. Always check local codes.
Example Budget Breakdown for Basketball Court (e.g., 10m x 20m)
- Tiles: $4,000
- Hoop System: $500
- Lighting: $300
- Labor: $1,000
- Permits: $150 Total: ~$5,950
Conclusion
Benefits of Having a Deck Basketball Court
Offers at-home convenience, encourages fitness, and adds value to your home.
Quick Recap of Key Steps
Design, choose materials, prep your deck, install court, add hoop, ensure safety, and enjoy!